|
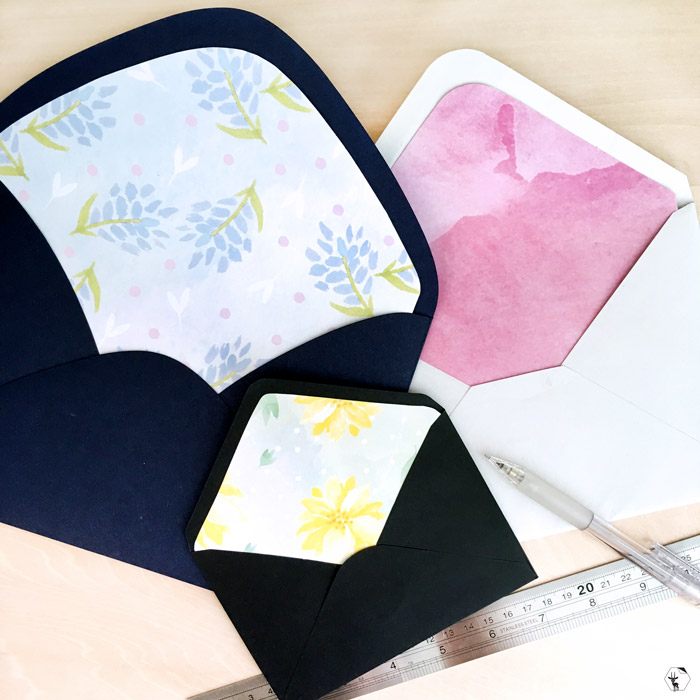
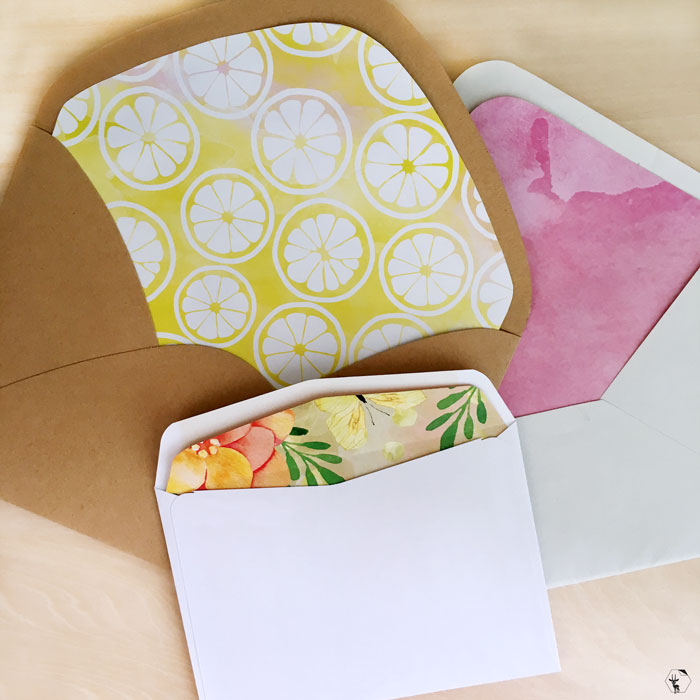
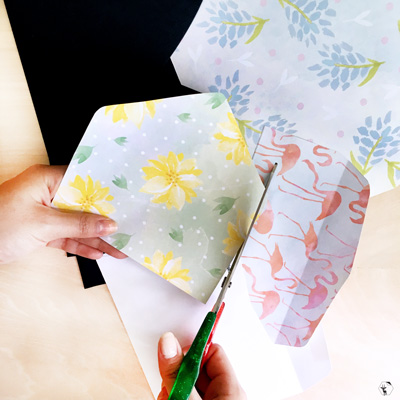
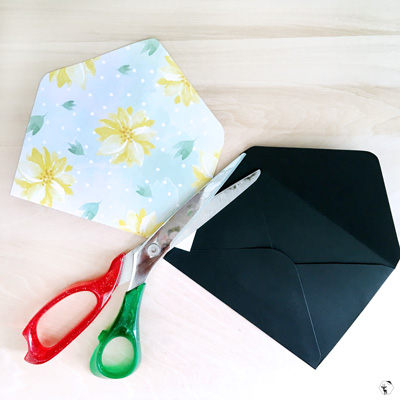
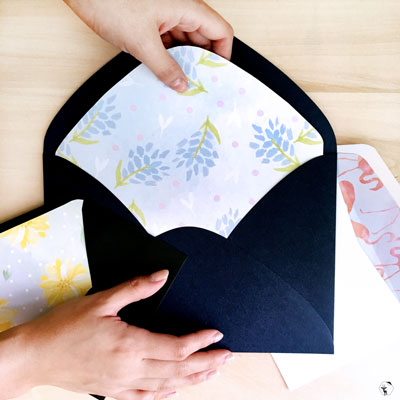
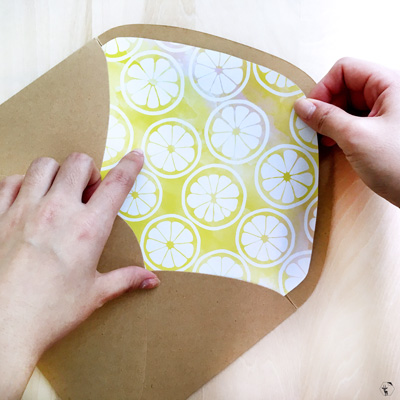
Woah, I can't believe that the last and unfortunately, one and only Fun Ideas post was written five months back! Has it really been that long? Anyhow, here's a quick recap - Fun Ideas is a column space intended for easy crafty tips and tricks, as well as creative ideas for simple DIY projects that anyone can easily follow and recreate. Just like the previous craft tutorial post, I used papers from honey&gazelle's Pretty Papers Pack: Mellow Motifs and Flashy Florals for this easy-peasy envelope liners tutorial. Don't you agree that sometimes all we need is fancy papers to spruce up plain and boring envelopes? With Christmas just two months away, I have been listing down the people I would like to send a Christmas love note to. Commercially-sold envelopes are usually plain and though I like plain envelopes on most days, I adore envelopes with the prettiest liners. I am especially drawn to good quality and heavy grammage envelopes lined with fancy papers. With that said, I am glad to announce that we are working on new envelope designs and improving the paper quality at the same time. I am going to keep my fingers crossed that the entire production process will go smoothly! Complement your handwritten card or letter by adding a touch of jazz to any plain envelope with an envelope liner. An envelope liner instantly dresses up an envelope and makes the entire experience of opening up a letter or card that much more special. There are many envelope liner tutorials out there on the world wide web but I have to say that this tutorial is my favourite and go-to solution because it is probably the easiest and laziest method. Score! This tutorial is perfect for those of you who may want to line a gazillion envelopes in the shortest time possible. The toughest part of this tutorial is possibly choosing which Pretty Paper to use. As you may know, each of our Pretty Paper Pack consists of eight sheets of four double-sided designs, so that essentially means that you have eight different designs to choose from. Just imagine how beautiful your envelopes will look after you line them with the prettiest papers yet! Do-It-Yourself: Easy Envelope Liners Step 1- Trace an envelope with its flap open against a Pretty Paper of your choice and then proceed to cut it out. Step 2- Measure approximately 1/2" from the bottom of the liner. Trim it away. This excess is not needed. Step 3- Slot the liner into the envelope, then align it to the center of the envelope. Step 4- Glue down the liner to the envelope with a glue stick or double-sided sticky tape. Liquid glue tends to create a soggy mess on both the envelope and the liner, so I would usually avoid using it when working with paper. And, you are done. This tutorial works for any type of envelopes, so just pick up an envelope and a patterned paper of choice and give it a go! Oh, how I love the look of lined envelopes!
- Did I convince you to line your envelopes for Christmas? If so, I think it's about time to get started! :) Have fun! xMin
Comments
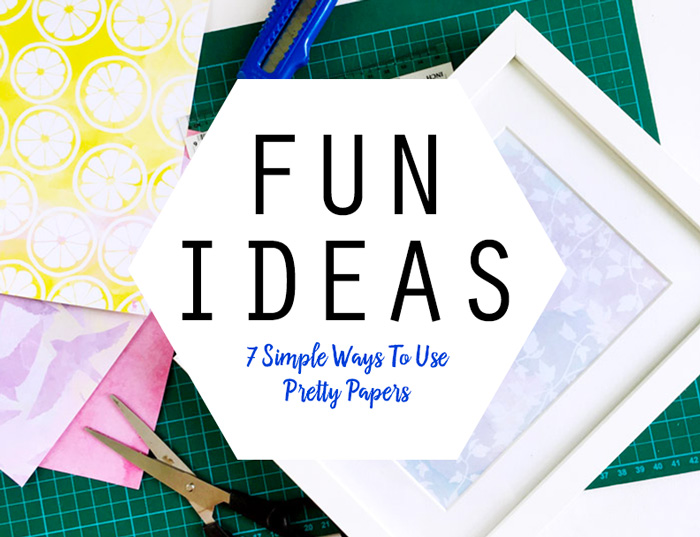
Art and craft was arguably my favourite subject in school. My art pouch had the craziest amount of things in it - glue sticks, liquid glue, fancy rulers, random markers, pencils, regular scissors, zigzag scissors, glitter tubes, coloured pens, stickers and the occasional pack of origami papers. I was the true-blue art and craft geek. I would go to school with only one textbook and a whole lot of art supplies. By 15, I had to choose a subject path - Arts or Science. I had zero interest in mathematics, science or whatever, and excelled only in art and design subjects. I was a terrible student. Needless to say, I chose Art as my major and I loved it! My art pouch was updated and upgraded because it was definitely cool to lug around an art toolbox. Goodbye zigzag scissors and hello fancy pen knives, fabric and acrylic paints. Art has been a huge part of my life and it has given me the confidence to express myself in the only way I know how. I hate to admit this but as I got older and busier with my previous jobs, art gradually lost its importance. Well, all that negativity is now water under the bridge because of honey&gazelle Design Studio! Yes, I am glad to have rediscovered my greatest love in life and I'm gonna hold onto art and design for dear life. Fun Ideas is the newest column to our blog where we will share creative how-tos, tips and tricks, as well as DIY projects, Without further ado, here are seven super simple and creative ways to spruce up any room and personalise items that you use in your daily life with honey&gazelle's Pretty Papers Pack: Mellow Motifs and Flashy Florals. Don't worry, you can also try out these projects with any kind of paper you have on hand! 1 // Frame Up Your Favourite Pretty Paper
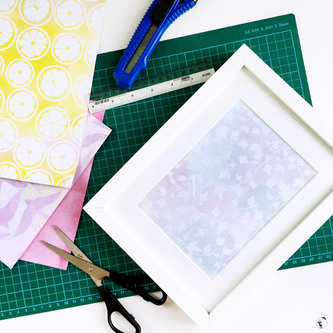
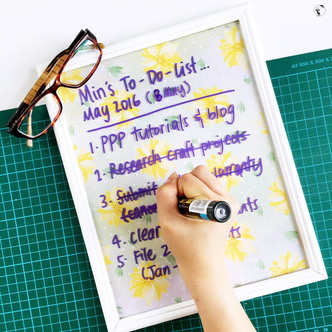
This is definitely the easiest craft tutorial ever. All you need to do is to measure the size of your photo frame, cut the paper to size and frame. Easy peasy! Our Pretty Papers are double-sided, so if you are feeling lazy to cut another piece, simply turn it over and voila, a brand new art piece! Prep more in advance so you have more choices to match your mood! 2 // Frame Your Favourite Pretty Paper AND Use It As A Whiteboard Besides using Pretty Paper as an art print, you can easily turn the frame into a handy whiteboard. Frame up your desired Pretty Paper, grab a whiteboard marker and start scribbling! Use the whiteboard as a To-Do list or write your favourite quote on it. Your whiteboard has never looked prettier! I personally find that it is easier to clean a glass fronted frame than a frame with a plastic fronted protector. |
Min+JiaThe humans behind honey&gazelle Design Studio. When we are not frantically working, we share our mishmash of thoughts on design, life, and love here. Grab a cuppa and stay for a bit! Categories
All
Archives
July 2018
2015 Archives |
H I A T U S 2 0 2 1
The studio is currently on a hiatus. No orders will be fulfilled. We remain contactable for urgent matters.

 RSS Feed